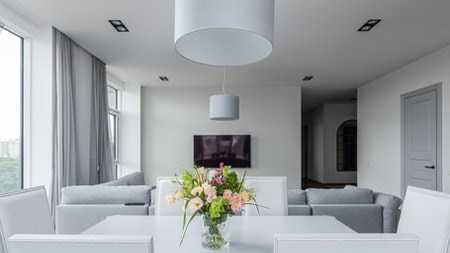
Adding framed photos to your walls will give your home that personal touch, and gallery walls are a great way to showcase your favourite memories.
WATCH :HD property listings: changing the game
Right spot
The first thing to do when creating a picture frame collage is to choose where you want to put it, and there are a few things to keep in mind:
- Sometimes your gallery’s theme will help dictate the perfect location. For instance, the living room or staircase landing would be ideal for a collage of family photos. If you’re creating a gallery of your children at different ages, their bedrooms or playroom would be good places to hang your collage.
- Choose an easily accessible spot. This will make it easier to hang your photos, as well as being easier to dust and swap the photos or add more frames in future.
- The spot must be well-lit because you need to be able to see your photos once they’re up.
- Passages and entrance halls often work well and don’t ignore the kitchen.
Design
There are several ways to plan your picture frame arrangement, but actually seeing the wall blocked off is the best way to visualise the space.
- The first step is to outline the entire space with masking tape. This will allow you to adjust and create the size that fits best. It’s also easy to remove and won’t leave marks on the wall.
- The next step is to decide what type of gallery you want. A uniform gallery will have all frames of the same size, shape and style, whereas an offset gallery will have frames in different sizes and styles – even colours. For a uniform gallery, you need to be very precise when blocking, whereas the offset gallery will allow you more creative freedom.
- Use a long spirit level to ensure edges are straight and level.
- At this point, it’s important to focus on your gallery’s overall look rather than the frames’ exact dimensions.
Measure
Once you have your collage outlined on the wall, you need to decide which photos you want to include in the gallery. Then, stick tiny pieces of Prestik to the backs of the photos and arrange them in the collage outline to get the layout you want.
To get the size for each frame, you need to measure each photo. Be as precise as possible, and ensure you measure consistently from the outside edges of the photos.
Make a note of which space on the collage goes with which photo. Then, either use a pencil to write on the masking tape for reference or take a photo on your phone and mark it up digitally.
Frames
Now that you have all the sizes, it’s time to plan your frames. You may be able to find enough suitable frames in shops or craft markets. However, sites like www.framesonline.co.za and www.framedepot.co.za allow you to order customised frames online so that you can match your frames to your exact specifications. This means your collage will be tailored to your space - perfectly fitting in size and layout.
With a program like Photoshop, you can digitally preview your gallery. Take a photo of your blocked gallery, then overlay screenshots of the frames you’re designing to see what the finished collage will look like.
Hanging
Once your frames arrive, it’s time to finalise your gallery.
- Measure the distance of the hanging wire on the back of each frame from the top of the frame.
- Then measure the same distance from the top edge of your masking tape for each frame. Be sure to match the location of each frame according to your original layout.
- Make a small pencil mark in the centre of the tape and use a Hilti tool to hammer in a steel nail. Once the nail is in place, remove the masking tape.
- Hang the picture frame on the nail and repeat for all frames until your collage is complete.
Once your gallery is in place, wipe the pictures with a microfibre cloth to remove any fingerprints and dust particles. Enjoy the process of collaging and achieve the best outcome.
Writer : Sarah-Jane Meyer


