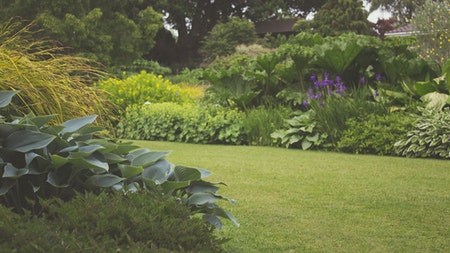
Gardens have long provided the quiet refuge that many seek. For many, Zen gardens represent the ultimate tranquil garden.
Zen gardens were originally popularised during the Muromachi period which spanned from 1336 to 1573 in Japan. They were commonly used for meditation at Buddhist temples and were meant to be viewed from a single viewpoint outside the garden at the head monk’s temple or monastery.
The main principle behind Zen gardens is that they should reflect the features of a natural landscape through the use of carefully arranged elements such as rocks, moss, trees, shrubs and light coloured sand which can be raked to represent rippling water. Zen gardens are usually fairly small, can be contained by a wall of sorts and generally require little in the way of water and maintenance which makes them ideal for the smaller properties which are in vogue today.
Before you install a Zen garden, consider whether or not it will add value to your home. Zen gardens don’t appeal to everyone and if it doesn’t gel with the rest of your house, could affect it’s ‘saleability’. That said, if done well and cohesively, Zen gardens can also make a home stand out and appeal to those on the lookout for something unique. Should the pros outweigh the cons, consider the following guidelines:
Step 1: Choose a quiet area of your garden which you think would be best suited to a feature of this nature. A flat corner next to a wall would probably work best. Measure and mark out the area with stones and dig out the border accordingly. Remove any plants or grass and line your intended area with weed matting. The last thing you want is to constantly disturb your carefully raked Zen garden because you have to pull out weeds.
Step 2: Select the type of material you want to use to create a low lying ‘wall’ or border around your garden. Generally speaking, hedges and other ‘living’ fences don’t lend themselves to traditional, ‘dry’ Zen gardens. A simple, low wooden fence constructed from pallet wood, bamboo, natural rock or stones should suffice. Whether or not you want your garden to blend in or stand completely apart from the rest of your garden will also influence the type of material you use.
Step 3: Once you’ve constructed your wall/ border, clear the area of debris and fill it with a light, natural coloured sand. The sand you choose should be fine enough to hold lines and designs once raked so test it first before you buy it. Light, natural coloured sand is also best as it emulates the feeling of calm and tranquility associated with such gardens. Once you’ve filled your designated area with enough sand, rake it out to the desired depth.
Step 4: The next step is to mark out the points in your garden you wish to make focal points. Now would be a good time to sit quietly opposite your garden and carefully consider what area ‘speaks’ to you and what you would like to see there. Traditional elements include rocks, small trees, shrubs, ferns and mosses. Modern Zen gardens feature contemporary artworks, lanterns, Buddhist statues, walkways and water features. The choice is yours really. Whatever you choose, try to incorporate elements around which you can easily rake the sand and try not to clutter up the area too much. If you do include plants, make sure you prepare the soil accordingly and water them well.
Step 5: Once you’ve laid out your Zen garden and incorporated the various elements, use a good quality rake to create the designs you want to see in the sand. The lines can be clean and straight or swirl around your focal elements in homage to rippling water. Again, the choice is entirely up to you. Just take the time to create the design you want and absorb the simple pleasure and tranquility of being outside and close to nature. After all, that’s what Zen gardens are all about.


